In this chapter we'll describe some techniques for removing detail from an object.

In this chapter we'll describe some techniques for removing detail from an object.

You'll learn how to use the following commands to reduce the geometry on an object:
In this Chapter
You may want to remove geometry if:
When you Dissolve a segment, the adjoining faces are merged into a single face.
Dissolve
2. (CLICK-L) on bodies on the element sensitivity menu.
3. (SHIFT-L) on the cube, then (CLICK-R) on Select Elements.
5. With the faces still selected, Edge Subdivide again.
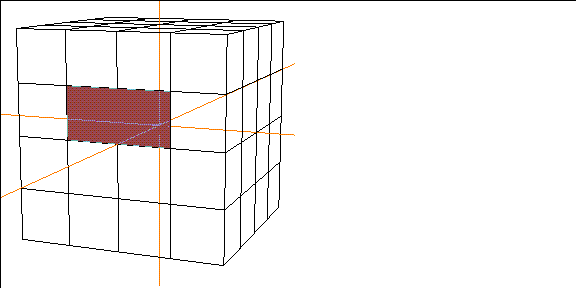
Figure 12.1 Dissolving an edge6. (SHIFT-L) on one of the segments near the center of the cube.

The two faces previously separated by the segment are merged into a single face:
Dissolving Segments between Non-Flat Faces
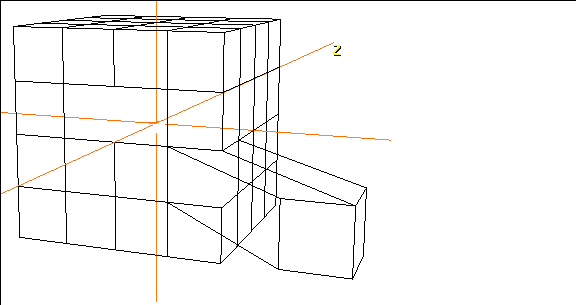
If you dissolve a segment between two faces that do not lie on a common plane, N-Geometry creates a non-planar face.
8. (SHIFT-L) on a segment on the edge of the cube.
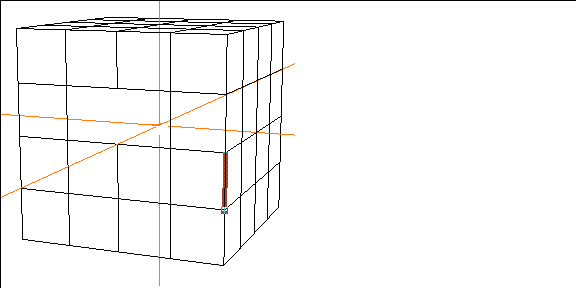
10. (SHIFT-L) on the face, then (CLICK-L) on Extrude.
Figure 12.7 Extruding the non-flat face
The Merge Region command lets you combine a group of neighboring faces into a single new face.
Merge Region
2. (CLICK-L) on bodies on the element sensitivity menu.
3. (SHIFT-L) on the cube, then (CLICK-R) on Select Elements.
5. With the faces still selected, Edge Subdivide again.
Figure 12.9 A cube, edge subdivided twice6. Collect several contiguous faces.

7. (SHIFT-L) on the collection.
Figure 12.11 The newly created face
The resulting face can be manipulated just like any other face on the polyhedra.
The Collapse command lets you remove an element from a polyhedra (either a vertex, segment (or bone), or face).
Collapse
2. (CLICK-L) on bodies on the element sensitivity menu.
3. (SHIFT-L) on the cube, then (CLICK-R) on Select Elements.
5. With the faces still selected, Edge Subdivide again.
Figure 12.12 A cube, edge subdivided twice
Try collapsing a vertex, segment, or face:

Note that collapsing an element can change the shape of your model:
Collapsing Vertices
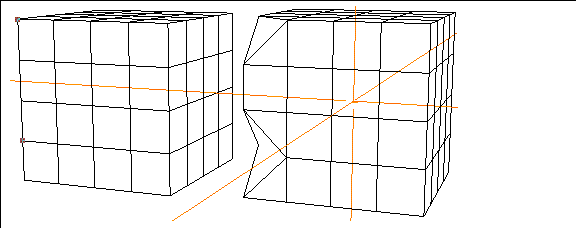
Collapsing Segments
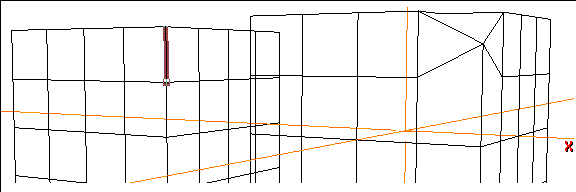
Collapsing Faces
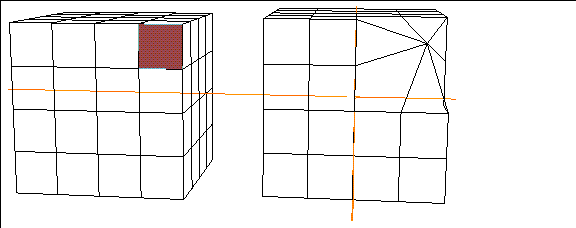
The Derez command simplifies the topology of a selected object or group of faces by dissolving edges (while retaining the object's original shape). The resolution can be reduced by various methods, all under the user's control.
Derez
1. (SHIFT-L) on the object or group of faces.
Figure 12.17 Derez menu
You've now learned some of the most commonly used techniques to reduce geometry from part of an object, or from an entire object.
Congratulations!
As with all of the techniques described in this guide, they are best understood when practiced!
 Another fine product from Nichimen documentation!
Copyright © 1996, Nichimen Graphics Corporation. All rights reserved.